
Are you eager to dive into the world of cyber security and penetration testing, but worried about breaking your primary operating system or infecting your machine with malware? To start your hacking journey, you need a safe, isolated environment.
In this ultimate guide from Cyberly, we will show you how to build your first hacking lab from scratch using VirtualBox 7.2.8 (featuring the newly restored classic UI) and activating the mandatory Extension Pack to ensure your virtualization environment runs with maximum efficiency and security.
What is VirtualBox and Why Does Every Hacking Lab Need It?
VirtualBox is a free, open-source hypervisor developed by Oracle. It allows you to run multiple operating systems (such as Kali Linux, Ubuntu, or Windows Sandbox) inside your current host system in a completely isolated environment.
Key Benefits of Virtualization in InfoSec:
Complete Isolation: Any malware analysis or penetration testing experiment you conduct inside the virtual machine (VM) will never affect your personal files or host OS.
Cost Efficiency: No need to buy multiple laptops; a single machine with decent specs is more than enough to build an entire network of virtual servers and target machines.
Snapshots Feature: This allows you to save the exact state of your system. If you execute a faulty script that breaks the VM, you can literally roll back time with a single click!
System Requirements & Crucial Hardware Settings
Before installing VirtualBox, you need to make sure your computer can handle running virtual machines. Here are the recommended specs:
Processor (CPU): A modern Core i5 or Ryzen 5 processor (or higher) with virtualization support.
Memory (RAM): 16 GB or more is highly recommended. While VirtualBox can run on 8 GB, your hacking lab will slow down when running multiple machines.
Storage Type: An SSD with at least 30 GB to 50 GB of free space. Running VMs on an old HDD will be extremely slow.
⚠️ Crucial Setting: You must have Virtualization enabled in your computer's BIOS/UEFI settings. You can easily check if it's turned on by opening Task Manager (Ctrl + Shift + Esc), going to the Performance tab, and checking if it says Virtualization: Enabled at the bottom right.
Step 1: Downloading the Software from the Official Source
To avoid backdoored installers or malware-infected mirrors, always download VirtualBox directly from its official website.
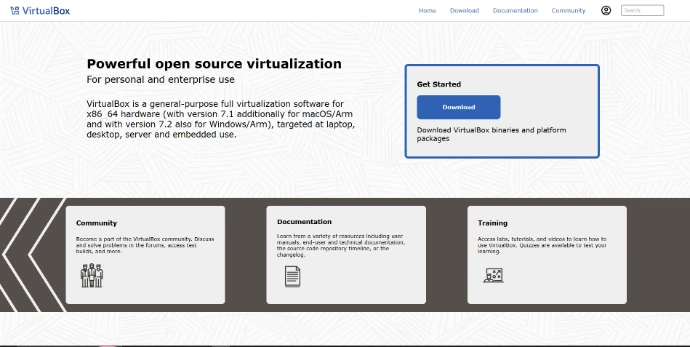
Open your web browser and navigate to: virtualbox.org
Click on the large blue download button prominent on the homepage.
Make sure to download two essential components:
VirtualBox 7.2.8 platform packages (Choose Windows hosts).
VirtualBox Extension Pack (Located further down the same page under All supported platforms).
Step 2: Starting the Setup and Customizing Options
Once the download is complete, launch the .exe installer file to begin configuring the software on your system.
When the welcome screen appears, click Next.
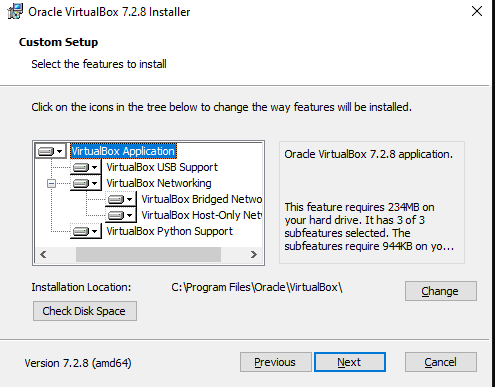
The Custom Setup window will pop up, displaying the core features being installed (like Python Support and Virtual Networking) and the default installation path in the :C drive.
We highly recommend leaving all settings on their default values to ensure all network drivers install correctly. Click Next to proceed.
Step 3: Bypassing the Network Disconnection Warning
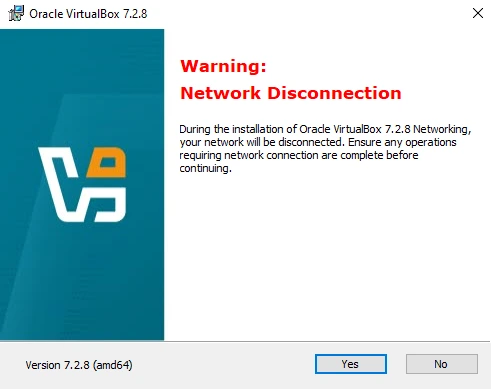
As you continue through the wizard, a sudden red warning dialog will appear titled Warning: Network Disconnection.
⚠️ Important Note: Do not panic when you see this screen! This warning is entirely normal. VirtualBox needs to build virtual network adapters so your future virtual machines can connect to the internet, which temporarily resets your host computer's network interface for a few seconds. Click Yes confidently, then click Install to trigger the actual process.
Step 4: Installing the Extension Pack & Activating Power Features
Once the installation wraps up and you launch the VirtualBox Manager, many beginners make a huge mistake: they spin up virtual machines immediately without installing the Oracle VM VirtualBox Extension Pack.
Why the Extension Pack is Mandatory:
Without it, your virtual machines cannot utilize USB 3.0 ports, you won't be able to easily Drag & Drop files between your host machine and your virtual system (Shared Folders), and you will likely face screen resolution constraints.
Open the Extension Pack file you downloaded during the first step.
A pop-up box will appear inside VirtualBox asking to confirm. Click Install.
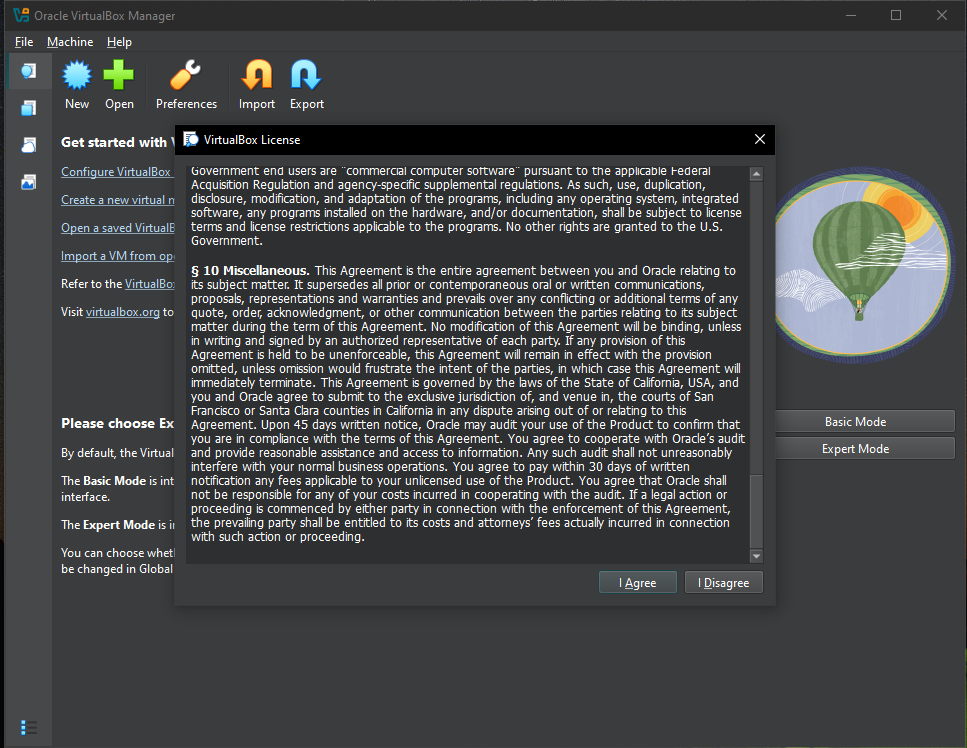
The VirtualBox License Agreement window will open up.
💡 Technical Trick: You will notice that the I Agree button is grayed out and unclickable at first. Don't worry, simply grab the scroll bar inside the license text box and drag it all the way to the bottom. Once the software registers that you have scrolled through the terms, the I Agree button will light up instantly. Click it to finish the setup!
Conclusion: Lab Status is Ready
Congratulations! You have successfully deployed a stable, secure, and fully equipped virtualization platform using the latest 7.2.8 build. Your host system is now officially ready to accommodate any operating system tailored for hacking.
⚠️ CRITICAL SECURITY WARNING: Do not download or execute any known malware samples inside your virtual machine while it is configured to NAT mode. In this mode, the VM shares your host's IP and can communicate with devices on your real home network.
To protect your physical machine, follow our complete blueprint on How to Safely Isolate VirtualBox VM from the Host to transition your setup into a secure, air-gapped hacking environment.
Stuck on a step or facing an unexpected installation error? Head over to our Contact Us page, and the Cyberly team will help you troubleshoot it immediately!